Introduction
Hello and welcome to a step by step guide on how to use Gitflow. In this lesson, we are going to learn what is Gitflow, why it’s important to software developers and how to use it. My name is Henry and let’s learn how to use Gitflow.
What is Gitflow
In our step by step guide on how to use Git and Github, we learned basic usage of Git. In simple terms, Gitflow is built on top of Git and it’s a branching model for Git. You need to have installed Git before you can install Gitflow.
Vincent Driessen created Gitflow in order to make continuous software development and life cycle much better. At first, Gitflow can be a bit confusing but once you get used to it, you will never develop without it.
How to Setup Gitflow
Before you can use Gitflow, you will need a working git installed on your machine, Gitflow works on Windows operating system, Linux distribution, and Mac OS. How to install Gitflow on:
On Windows use the following command:
wget -q -O - --no-check-certificate https://raw.github.com/petervanderdoes/gitflow-avh/develop/contrib/gitflow-installer.sh install stable | bashOn Linux Distribution Os use the following command:
apt-get install git-flowOn Mac OS use the following command:
brew install git-flow-avhFor more information on the installation of Gitflow, visit Gitflow cheat sheet by Daniel Kummer.
Practical Usage of Gitflow
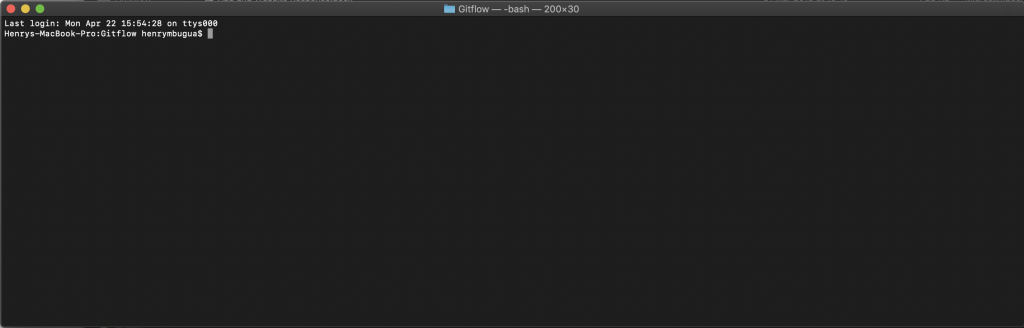
I am using Mac Os, and I have already installed Gitflow, in order for us to get started. I will create a folder on my desktop called Gitflow. I will launch my terminal in this folder and here is the output of my terminal.
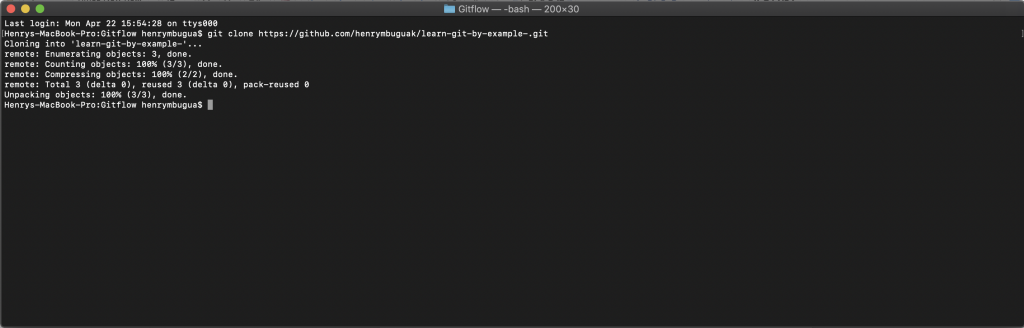
The next step I want to do is to create a project that is being tracked by git, fortunately, we have a good project on Github that we used when we learned how to use Git and Github. Visit Learn Git by Example We will clone this project, to clone this project use the following command:
git clone https://github.com/henrymbuguak/learn-git-by-example-.gitAfter running the above command, here is the result of my terminal:
Now that we have a project to use, on my terminal I will navigate inside the project. After cloning, a folder named learn-git-by-example- was created. After navigating inside that folder, I will run the following command to know which branch I am on.
git statusHere is the result of my output.
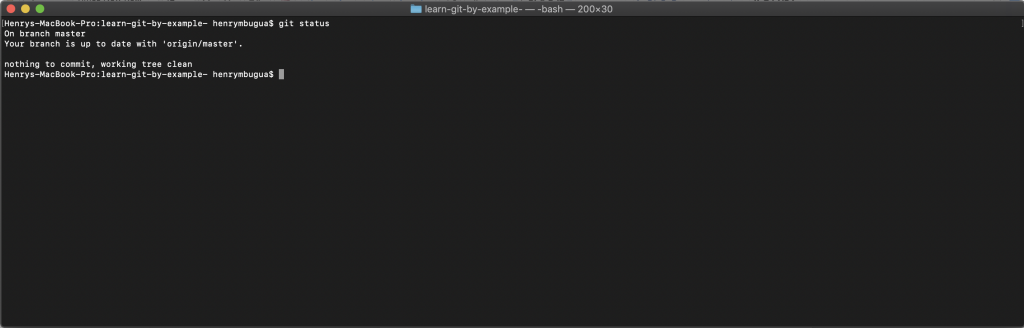
The above command shows that I am on Master Branch, to know how many branches we have, we can run the following command:
git branch -aHere is the output
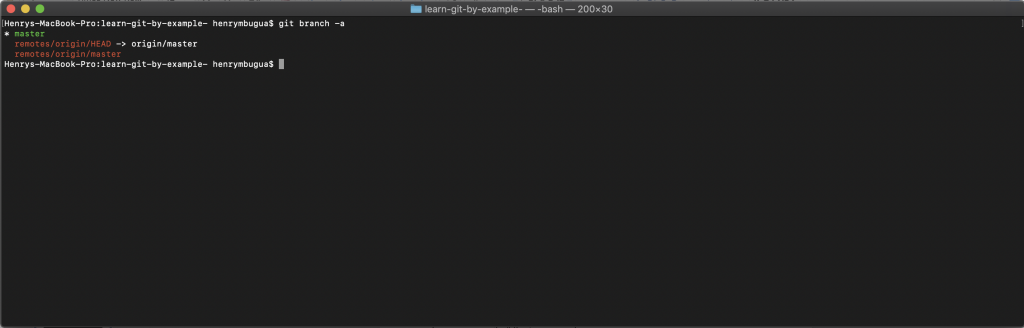
Now that we have established that we only have one branch, let’s learn how to use Gitflow.
Step 1
We need to initialize git flow by running the following command:
git flow initWhen you run the above command, you will need to answer a couple of questions regarding the naming convention, since we are just starting to Learn about Gitflow, I recommend that you maintain default values.
Here is the output:
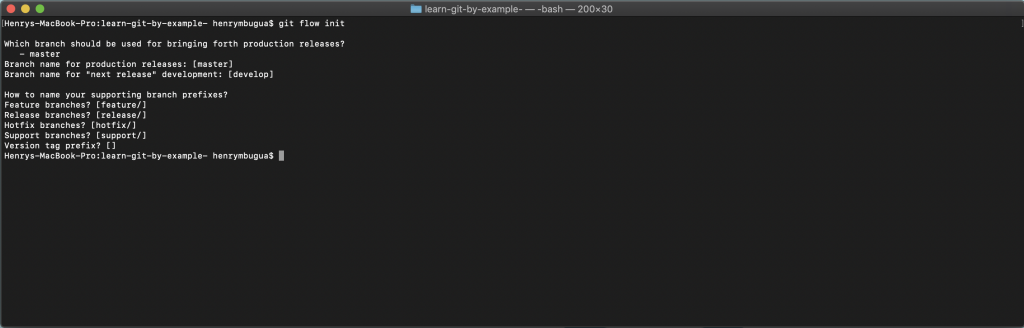
If you are successful, you should have the above output. Git flow will automatically switch us to develop branch. To confirm this, let’s run the following command:
git statusHere is the output:
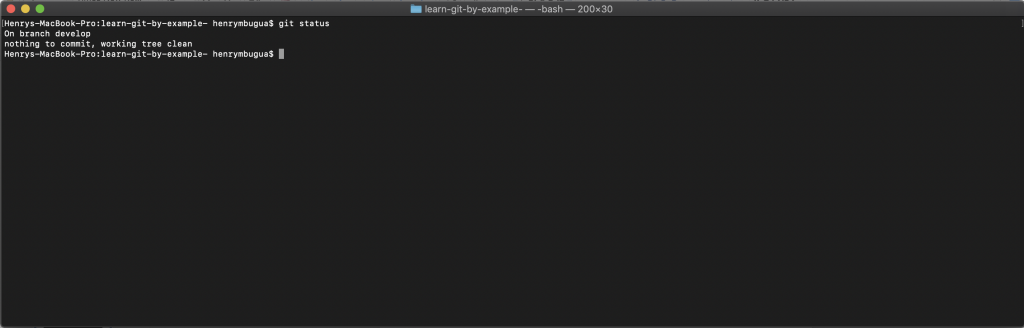
We are on develop branch, one thing to note. Develop branch only exist in our local repository only.
Problem Statement
Let’s say we are creating a huge system and there are 5 developers, we will need to divide tasks based on the resource we have. One developer would take maybe user authentication. We will need a way to harmonize and merge code without too much conflict. Hence, Gitflow gives us the ability to create features, in this tutorial we will create a feature branch called user. To create this feature branch, we will run the following command:
git flow feature start userHere is the output:
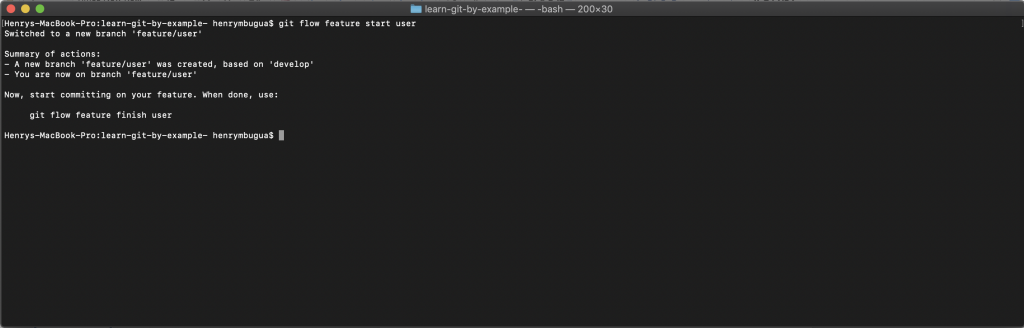
Git flow tells us that feature/user has been created and you can now work on this branch, Gitflow will automatically switch you to this branch. To publish this branch on the remote repository, we will use the following command:
git flow feature publish userHere is the output:
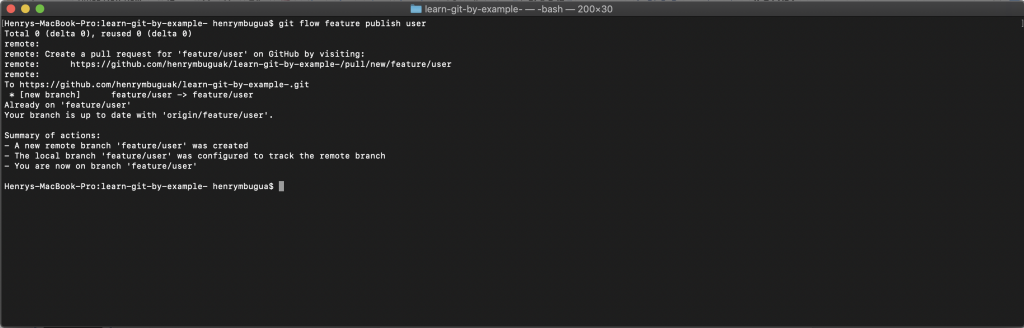
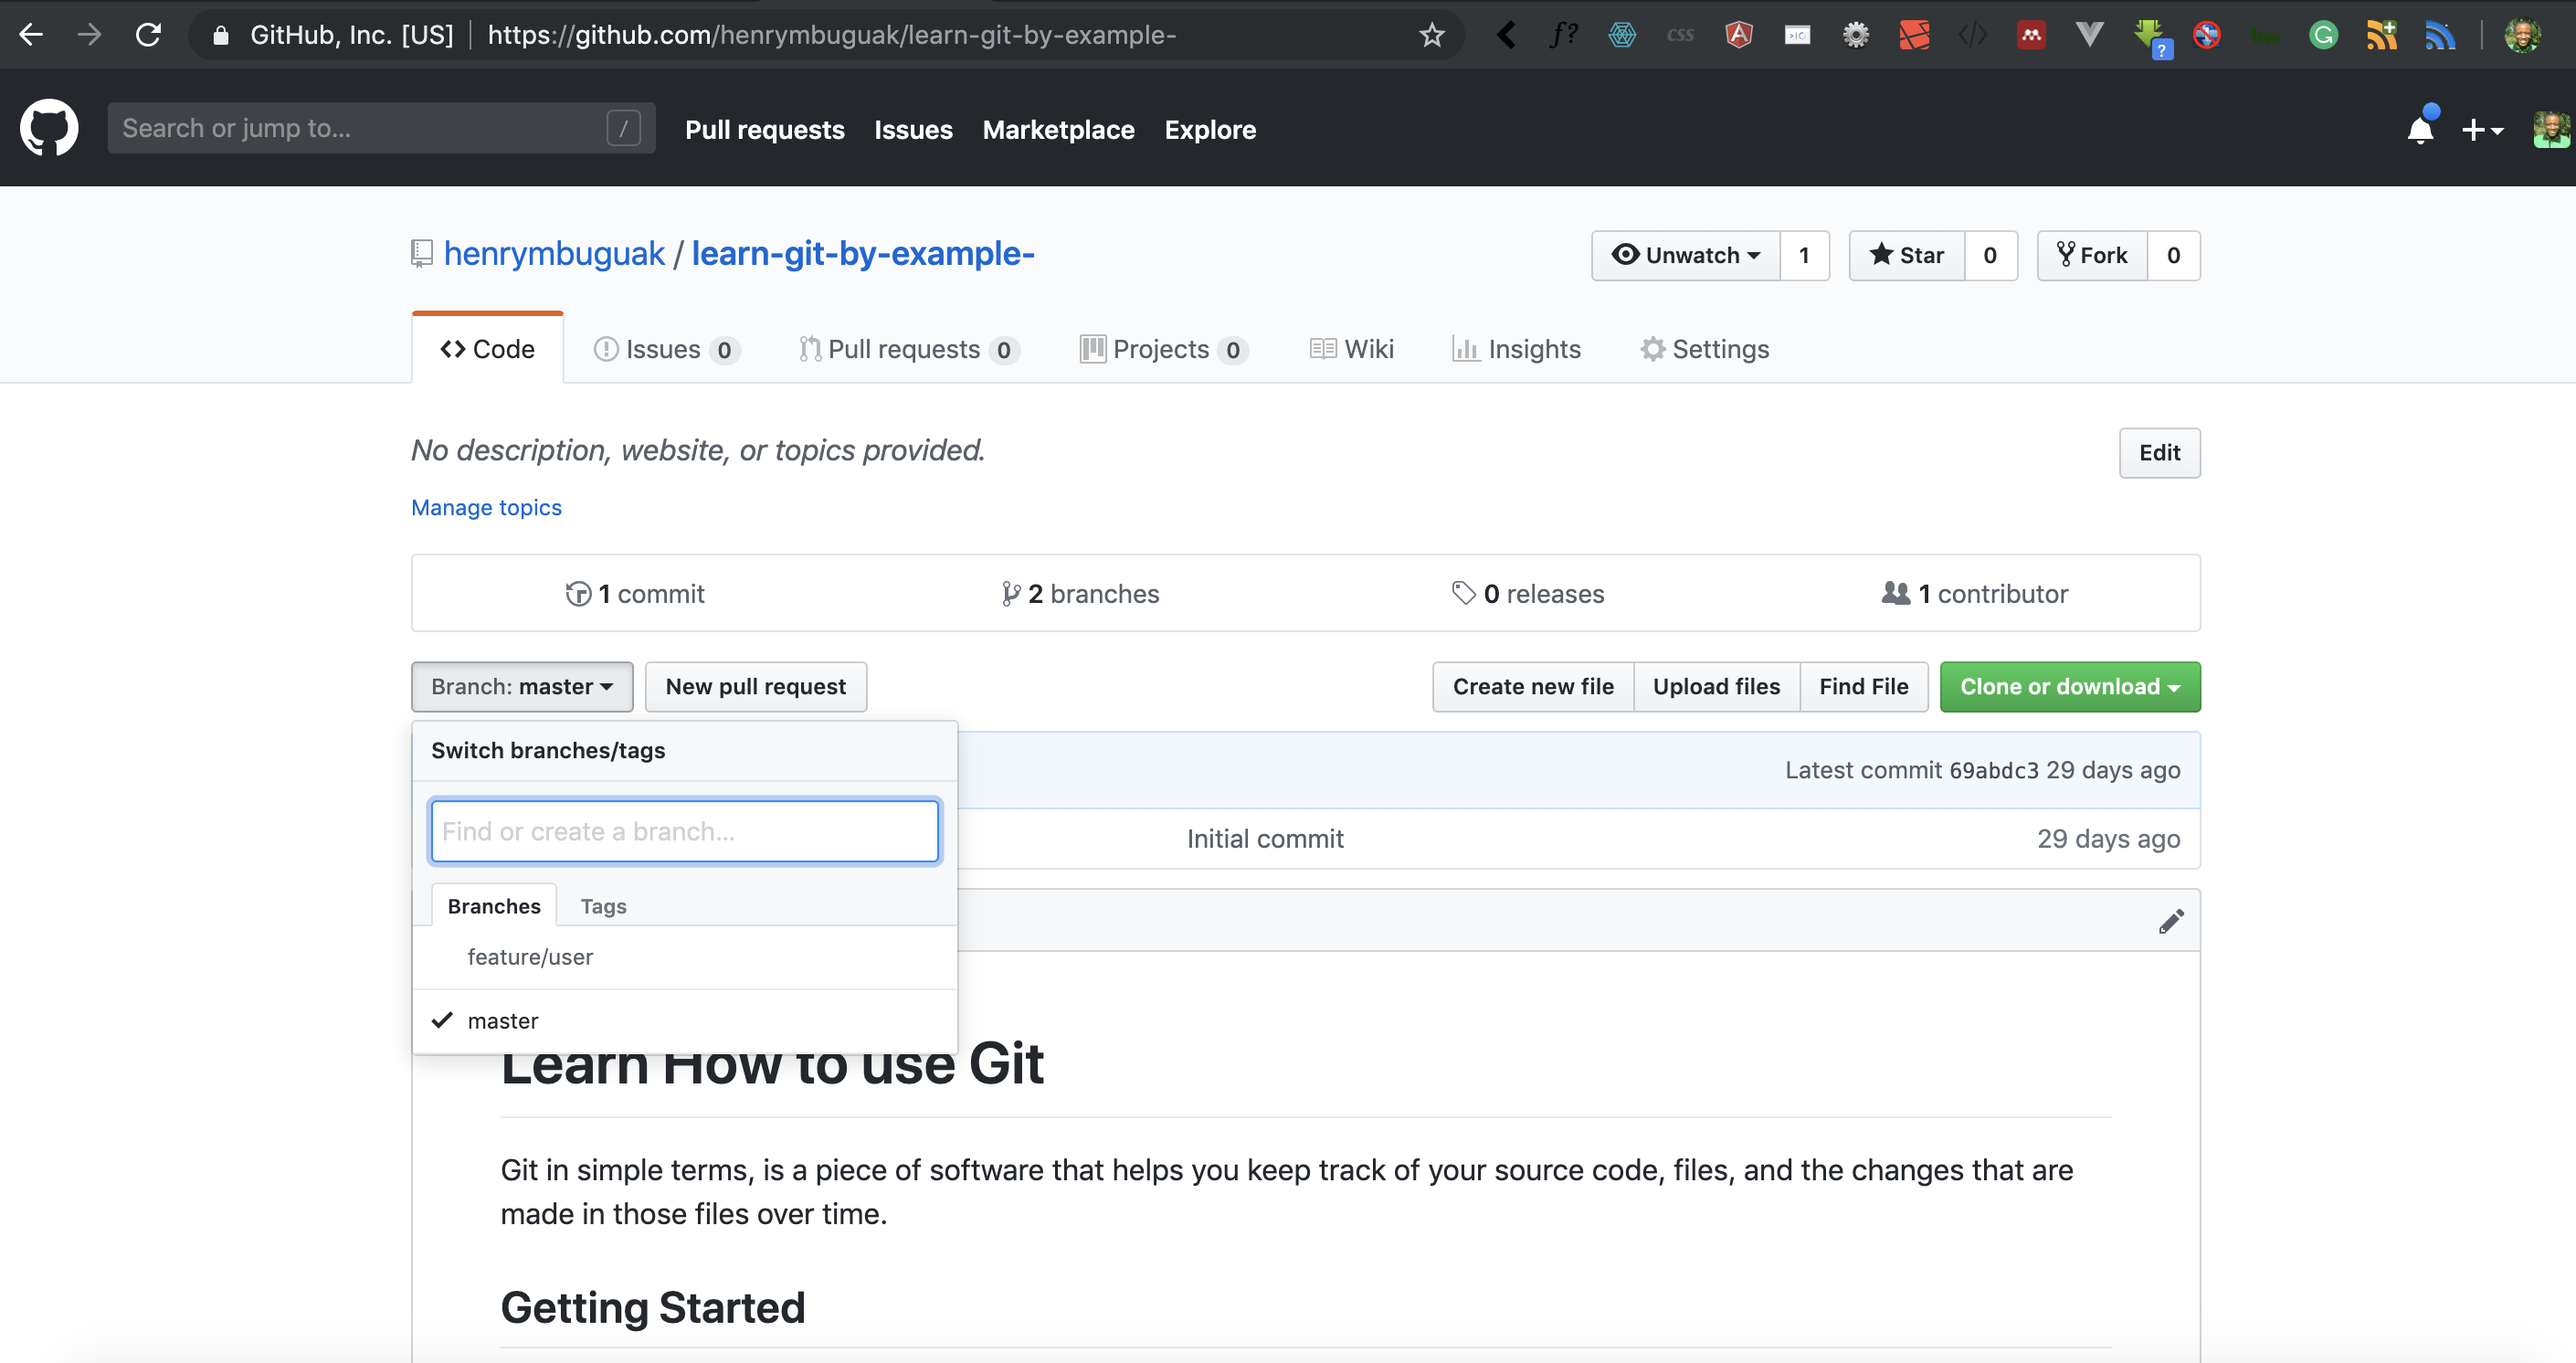
When you look at the output, you will see that this has been published. Here is a Github view of the feature branch:
Great Work!
We that we conclude on this tutorial, I believe we have a good introduction to Gitflow. Learn more about Gitflow command.